Run a lap day with QR cards
Use this guide only when QR scanning helps the class. Printing cards is setup; scanning and saving laps happen after opening the mobile session.
Confirm the roster
Make sure students are active and assigned to the class you will run.
Print and organize QR cards
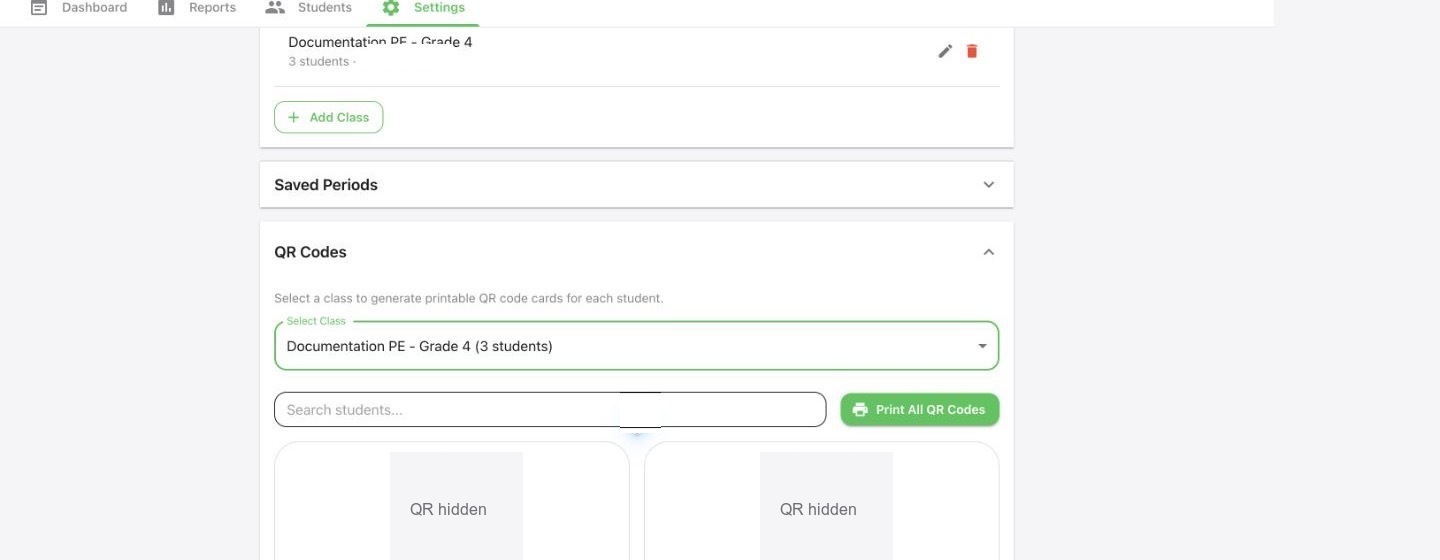
In Settings → QR Codes, select a class, optionally filter students, then choose Print All QR Codes.
Create the session with Running Laps
Select New Session, choose the class and date, and confirm Running Laps is selected. Its unit and lap distance come from School Activities. If Running Laps is missing, add it from the session while online before class starts.
Scan from the mobile app
Open the session, select Running Laps, and tap Scan Laps. Each accepted scan adds one lap. The mobile Scan cooldown setting prevents immediate duplicate scans of the same student.
Confirm before completing
Accepted scanner results are saved when you close the scanner. Review lap counts in Activity Records; if you manually correct a value, tap Save Records before marking the session completed.